DIY Fabric Scrap Holiday Decorations
2023 Dec 13th
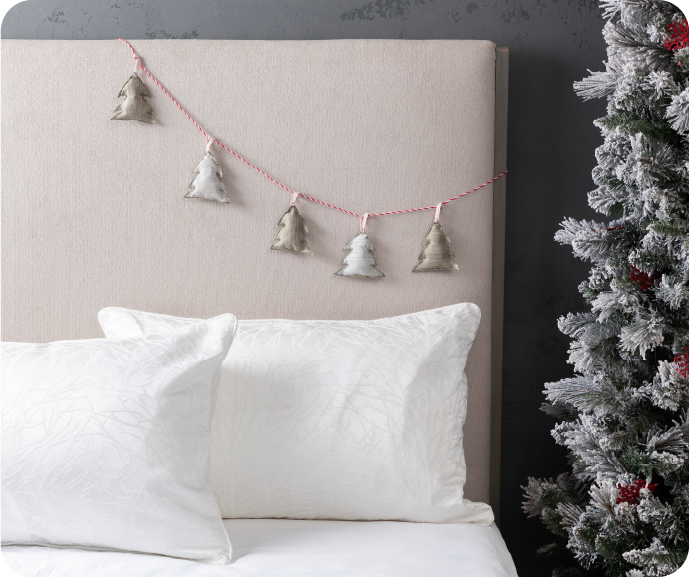
'Tis the season for unleashing your creativity and infusing a personalized touch into your festive decor. In this tutorial, we'll guide you through the process of making charming fabric scrap Christmas tree ornaments. These delightful ornaments not only make for a great addition to your tree but also serve as thoughtful handmade gift for friends and family, all while repurposing old bedding in an eco-friendly way!

At QE Home, our commitment to sustainability extends beyond the festive season. We take pride in our recycling take-back program, ReHome, which makes contributing to a greener planet feel even more rewarding. With this initiative, customers can effortlessly send their old QE Home bedding and textile items to SuperCircle's recycling facility, receiving store credits in return. It's a small yet impactful way to extend the life cycle of textiles and contribute to a more eco-friendly holiday celebration.

If you find yourself in a situation where, despite your best attempts to maintain a clutter-free home, old clothing, bedding, and various unwanted textiles mysteriously accumulate over the years, know that you're not alone. While ReHome provides a straightforward solution for responsibly disposing of your old QE Home items, there's more to cover. So, let's continue with the step-by-step process of creating charming fabric Christmas tree ornaments, using any fabric scraps of your choosing! 
Materials Needed:
Christmas tree template (ours was 8-9cm tall, drawn onto parchment paper)
Fabric scraps (no smaller than the size of the template)
Stuffing (we used the filling from an old cushion)
Scissors
Sewing machine or needle and thread
Fabric glue
Ribbon or drawstring for ornament (any narrow, tie-able material will do)
Optional: Rhinestones or other decorative embellishments
Directions:
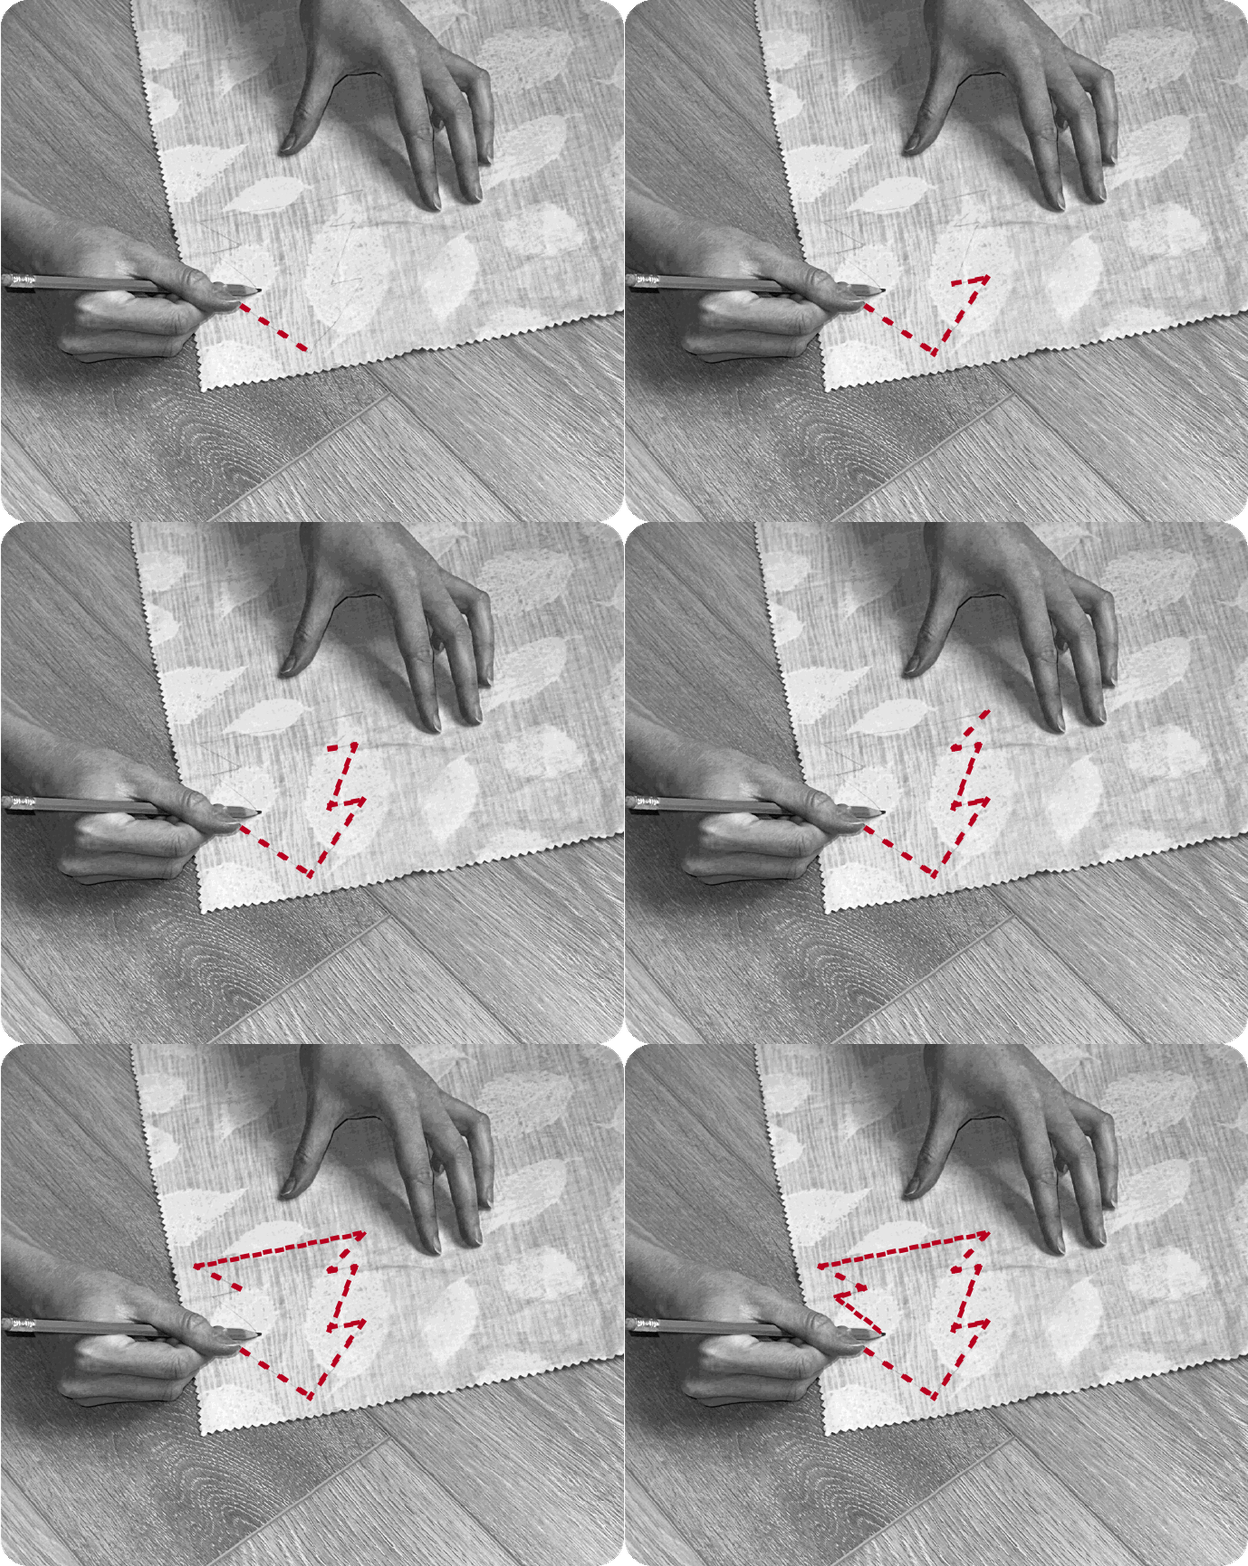
Prepare the Template: Start by printing a Christmas tree template from the internet or sketching your own. The trees in this tutorial are approximately 8-9cm tall. Trace tree shape onto your fabric using a pencil (or chalk for dark fabric). Alternatively, if you're feeling adventurous, freehand draw your tree - that's what we did for a "rustic" effect.
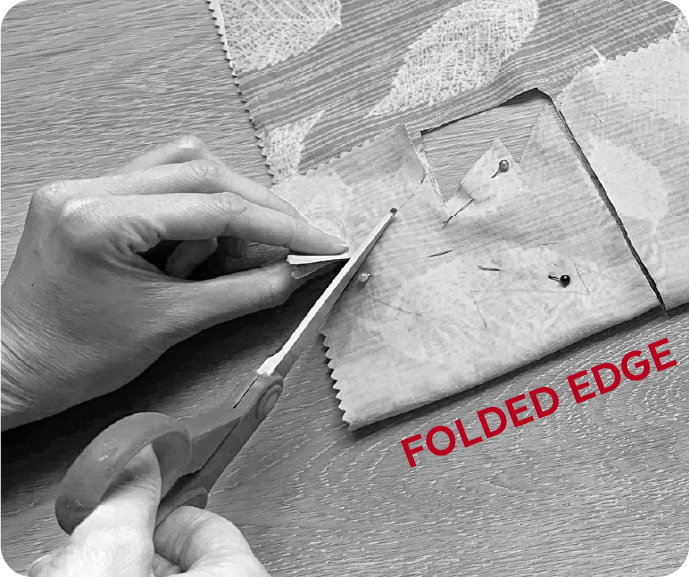
Cutting the Fabric: Fold with the wrong sides facing each other. Pin two pieces of fabric together and cut both sides along the lines. The pins will ensure both pieces of fabric are equal in shape and size, so place them carefully.
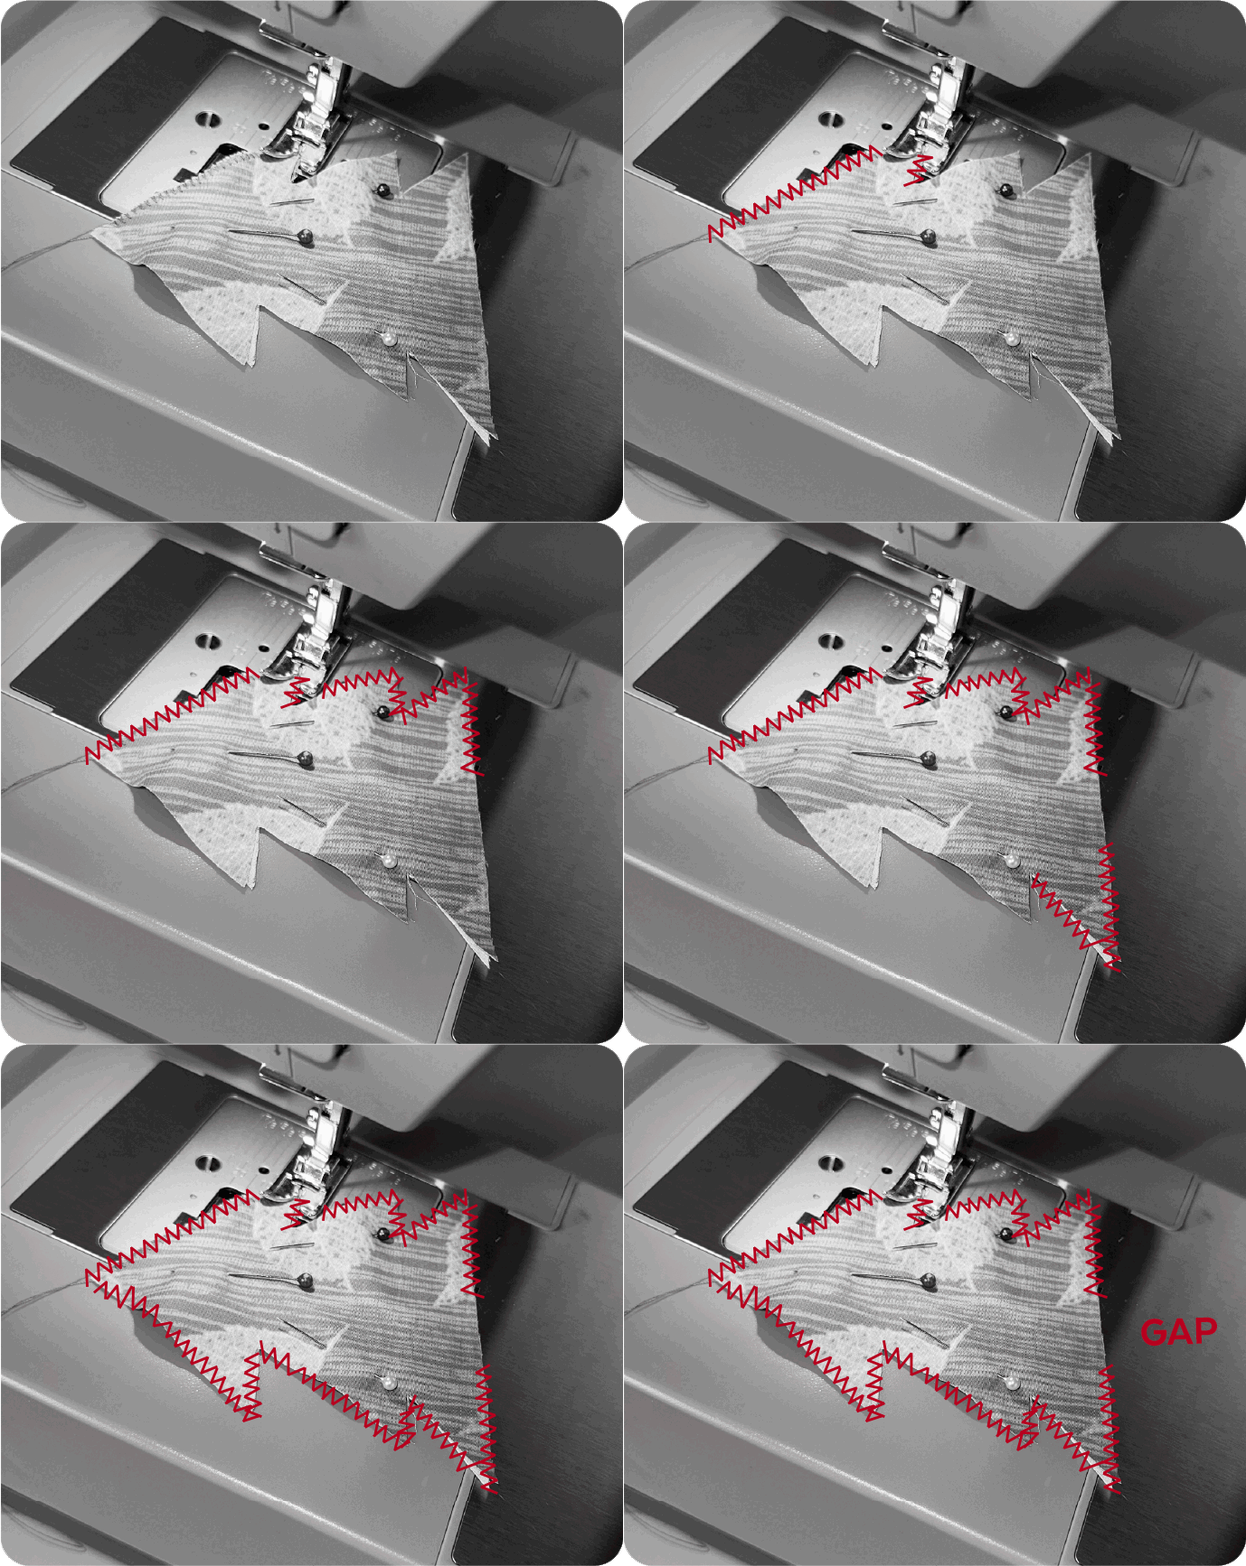
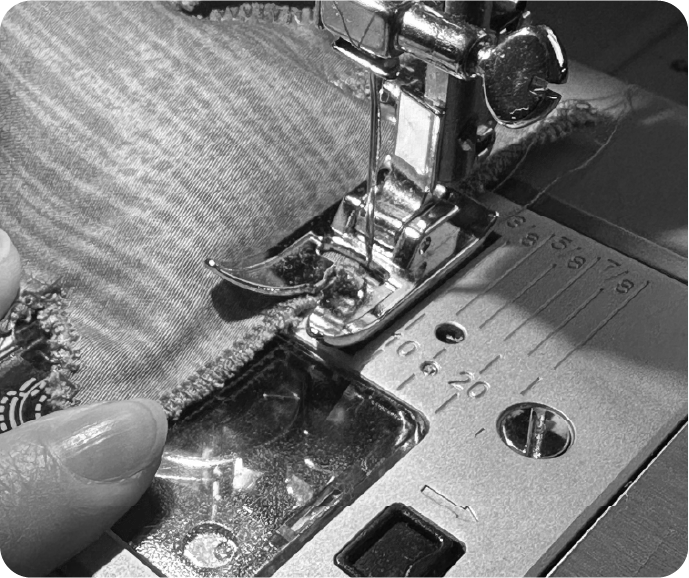
Sewing: Take your fabric to the sewing machine. Use a zigzag stitch to overlock* around the edge of the tree Alternatively, you can use a straight stitch (machine or hand) and neatly trim around the edges, leaving a small border. Important: Leave a 2cm gap at the bottom of the tree – this is where you'll insert the tree's stuffing!
*If you have an overlocking machine, feel free to utilize it for this particular step!
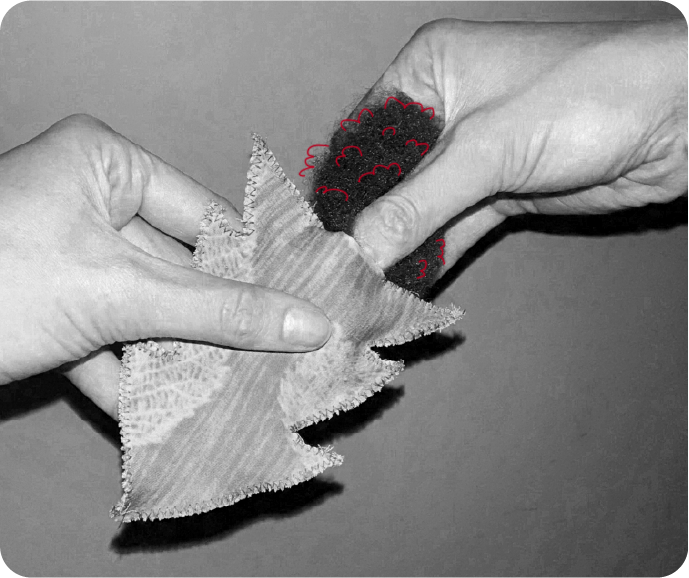
Inserting Stuffing: Once your trees are sewn around the edges, insert small pieces of stuffing through the gap. Work the stuffing into the pointy "branches" of the trees.
Closing the Gap: After stuffing your trees, use your machine to sew the gaps closed. With your fingers, ensure that the two fabric edges remain tightly together, which might require a bit of practice with the stuffing now in place. Exercise caution to keep your fingers away from the needle during this process!
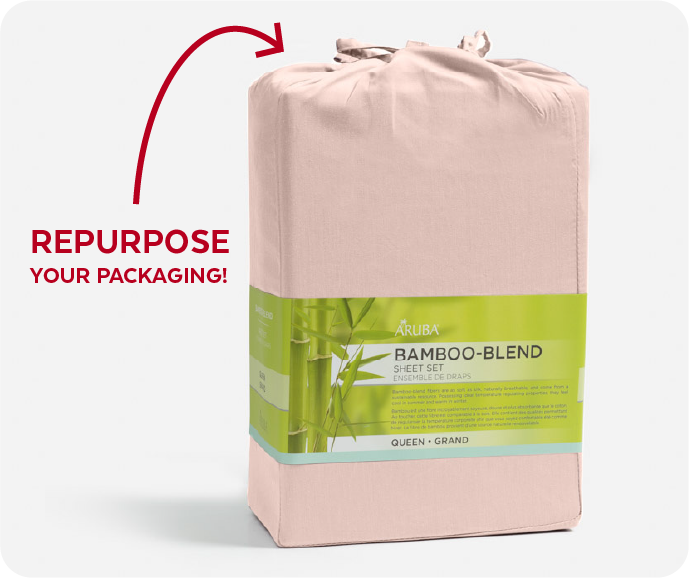
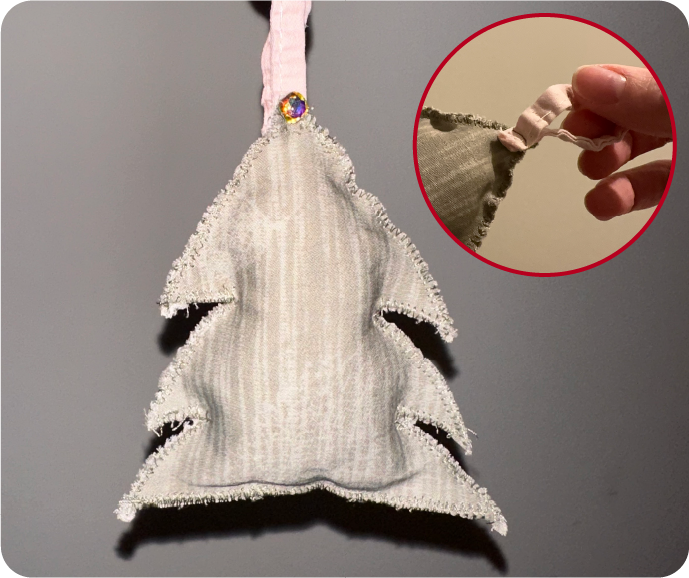
Adding Hanging Loop: Take strips of fabric or repurpose drawstrings from your old sheet set fabric packaging. Cut to your desired length - if you want a 3cm drop, the string should be cut to double that length i.e. 6cm. We suggest adding a little extra buffer to account for seam allowance. Form a loop and use a straight stitch to fasten both ends at the top of the Christmas tree, on the back side. Now, your ornaments are ready to hang!
Optional - Embellish your Trees: Add ornaments to your ornaments! We opted to attach a lone rhinestone at the top of each tree using a hot glue gun. The possibilities are endless!
To Create a Bunting: Transform these delightful trees into a festive bunting by securing them to a string through their loops. Before adding each new tree, loop your bunting string around each ornament loop; this ensures they stay evenly spaced and ready to be hung wherever you desire. Now, your holiday bunting is ready to bring cheer to a myriad of spaces in your home!
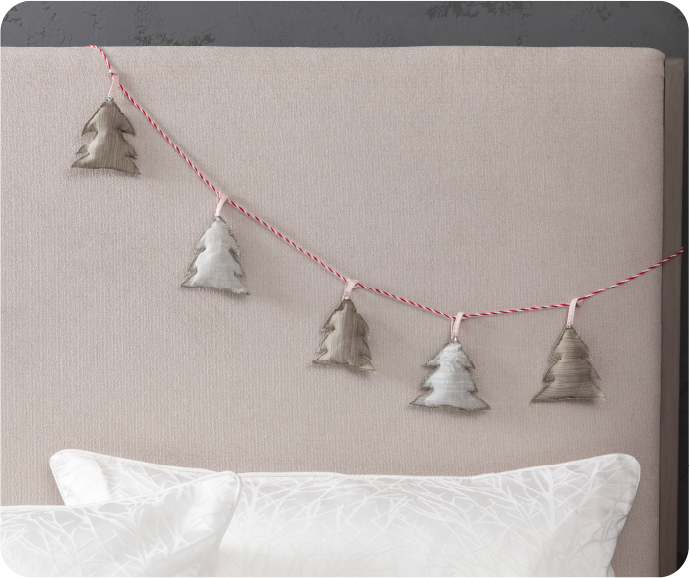
Congratulations! You've just created adorable fabric Christmas tree ornaments that are not only a joy to make but also a delightful addition to your holiday decorations. Get creative with different fabric patterns and colors to personalize your trees even further. Whether you're crafting these for your own home or gifting them to loved ones, these handmade ornaments are sure to spread holiday cheer. Happy crafting!

