Make Your Own Halloween DIY Fabric-Wrapped Pumpkins
2022 Oct 20th
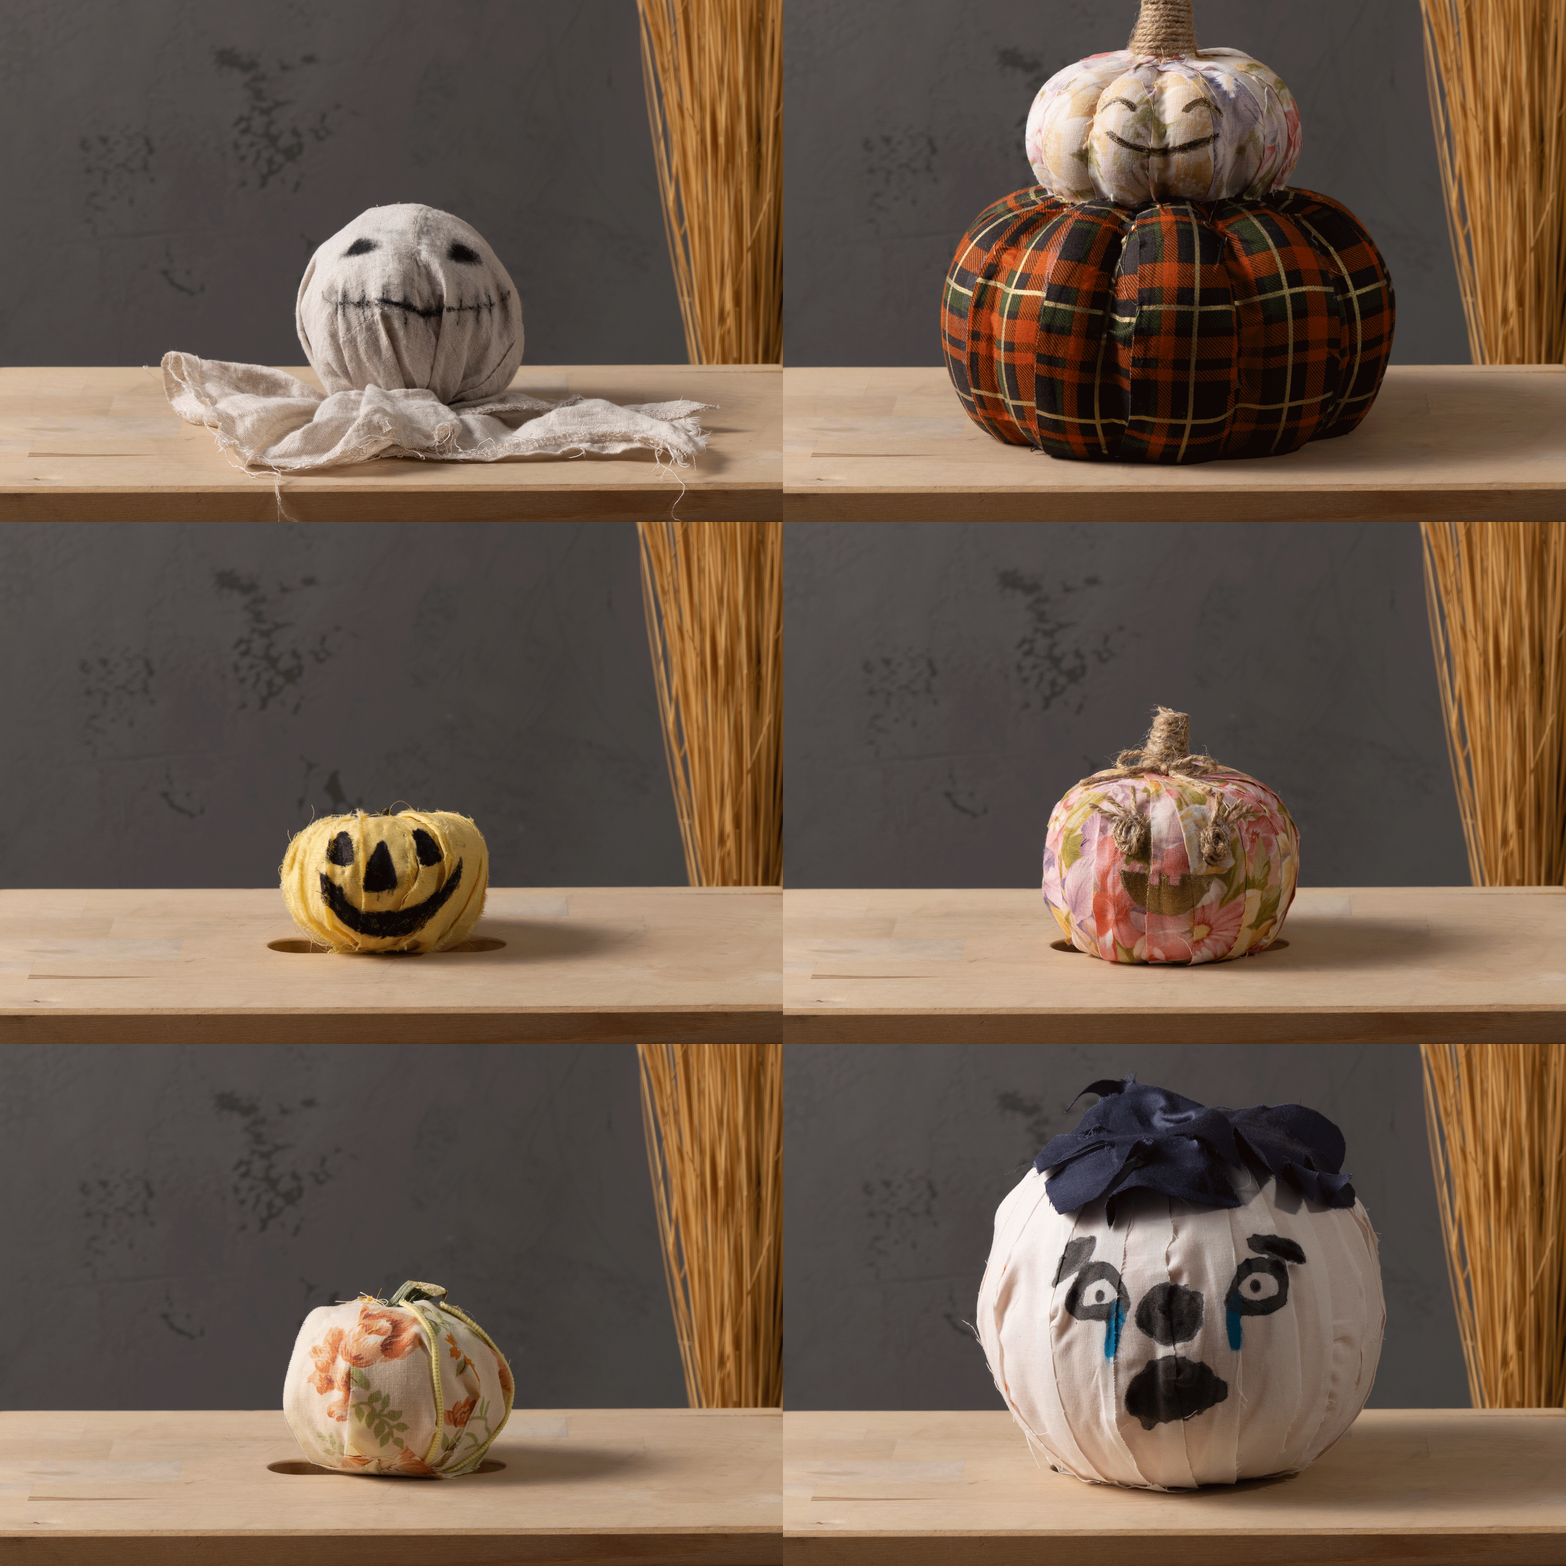
With Halloween drawing near, the time for spooky decor and pumpkins is here! Jack-o-lanterns are the go-to decorations for the season, but cutting into one can be incredibly messy and time-consuming, and it’s tough to make one entirely unique without a whole lot of pumpkin experience behind you.
If you’re not into the mess but still experiencing some pumpkin envy, there are certainly some ways to fill that void. One is to invest in our decorative Pumpkin Cushions for all your autumn styling needs, which are especially sure to stand the test of time when you’re ready to redecorate next year!
However, if you (and your smallest trick-or-treaters) want to make something a little unique, some crafting supplies and leftover fabrics are all you need for a pumpkin that’ll stand out from the crowd! This tutorial will show you how to stylishly turn your decorative fall pumpkins into a canvas for your creative dreams!
Watch us make it!
Or follow our step-by-step guide below - happy crafting!
What You’ll Need
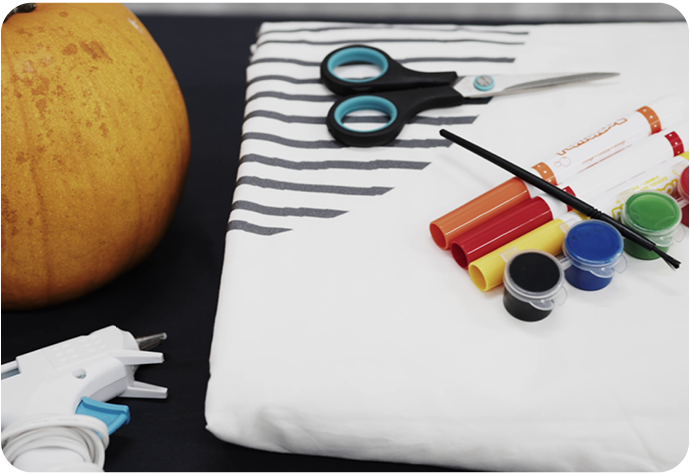
- Small pumpkin
- Large square of old fabric
- Scissors
- Glue
- Markers and paint
This is an incredibly easy craft, so long as you don’t rush! Your key ingredient is going to be your fabric, as you want something fairly large that you’re not afraid to part with. Your old duvet covers, flat sheets, and pillowcases are perfect for this, but just make sure you don’t cut into anything you might need for a good night’s sleep!
The other important thing to keep in mind is your pumpkin, which shouldn’t be too large. Pie pumpkins are perfect for this craft since they’re lighter and have less surface area to cover, but you can also use fake pumpkins, toys, or styrofoam if you don’t have a real one handy!
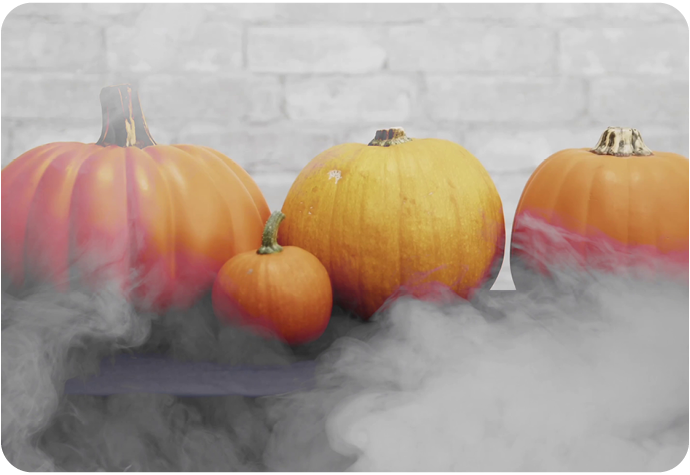
If you do choose to use a real pumpkin, make sure you give your pumpkin a wash before you get started. This goes for any vegetables or produce of course, but since you’ll be having your hands on it quite a bit, it’s especially important that you and your little ones have a clean surface to work with!
Step 1: Cut Some Strips
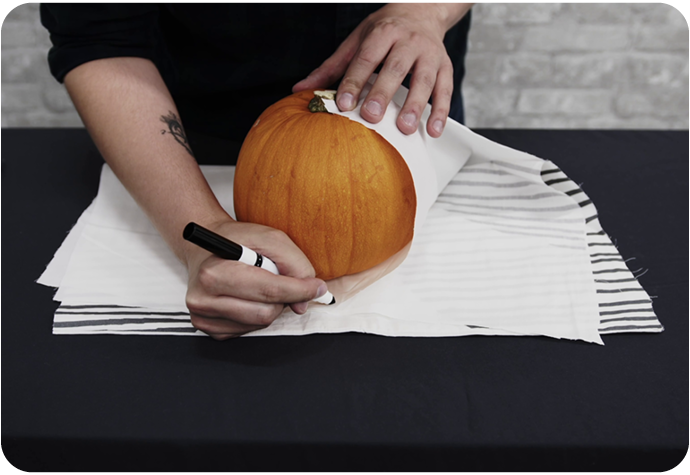
While you could just throw your pumpkin into your fabric and wrap it on top, it’s going to be a loose fit without much style to it. To give it a nice & even texture, we’re first going to take our fabric and cut it into as many strips as possible, enough so that you can cover the pumpkin vertically.
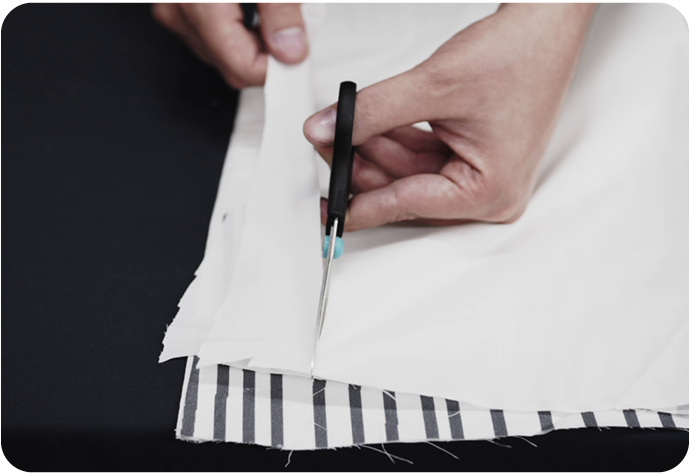
It’s suggested that you make one strip first and measure it from the bottom of the pumpkin to the stem, just to make sure your lengths all match. Then, use that test strip as a stencil and make as many as you can! They don’t have to be perfectly identical, but it helps to have them as close as you can.
Step 2: Wrap It Up

Once you have your strips, it’s time to get fastening! Using your glue, attach your first fabric strip from just below the stem to the base. Make sure it’s a tight fit, otherwise your fabric will feel a little loose when you start to decorate it later!
We use a hot glue gun since it dries fast, but a good glue stick or even some double-sided tape can work for this as well. If you use a hot glue gun and your fabric’s slightly thin though, be very careful not to burn your fingers as you press the fabric.
Step 3: Keep Going
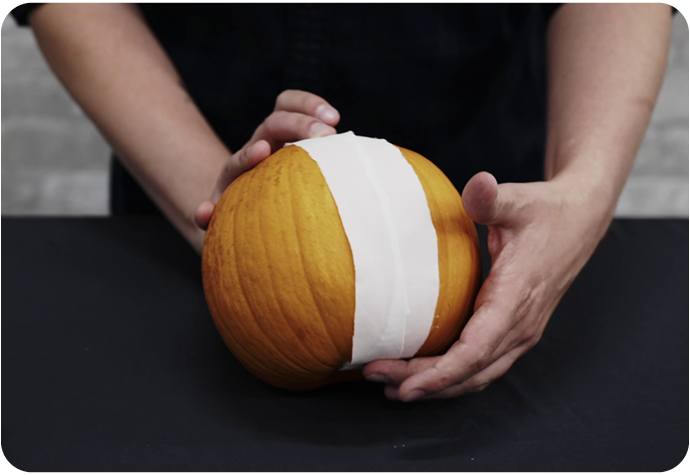
All that’s needed from here is just a little time, as you’ll be wrapping your whole pumpkin (or at least as much as you can) in these strips. Add them one-by-one just like the last step, each one overlapping very slightly with the previous strip so that they neatly wrap around the pumpkin without any gaps.
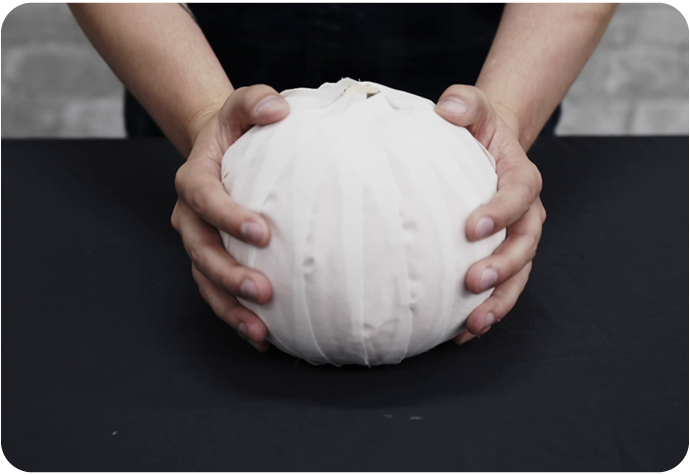
While working on this, make sure to keep adding your strips in a single direction. That way, you’ll have a fairly consistent pattern that’s easier to decorate, as well as making it look a little tidier!
Step 4: Top It Off
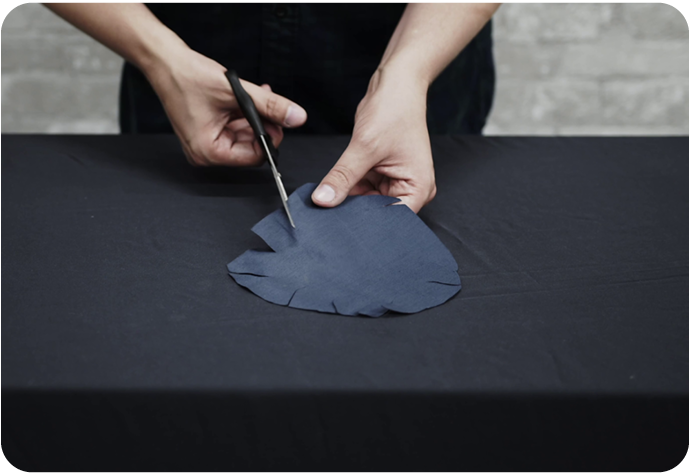
This is where you start making it your own! The last thing to cover up is the stem (which is also known as a peduncle!), and how you cover it is entirely up to you. If you feel like getting into the season, a little witch’s hat is a dream accessory, or you can even wrap the stem in felt if you want a more natural look.
For our pumpkin, we decided to add a little hairpiece with some extra fabric in a different colour. Just cut out a circle and add a few stray cuts around the edge, and like that you’ll have a nice little toupée to top it off!
Step 5: Decorate!
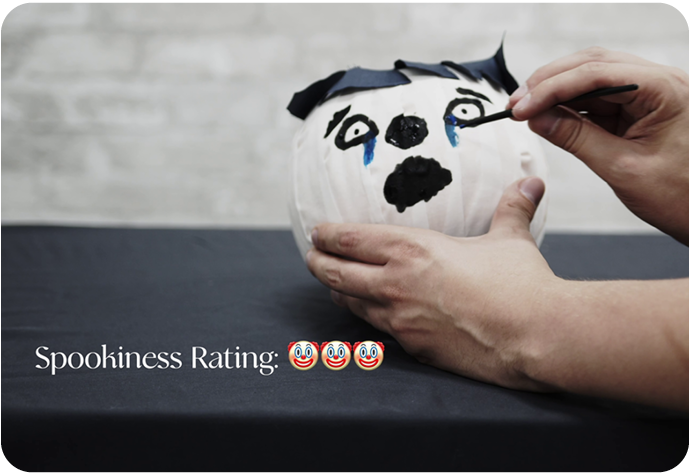
Finally, it’s time to get your other supplies and go wild! We suggest using paint or markers designs right over it, as the fabric makes a great surface to draw over. Glitter glue and stickers can also cover up any empty space that might need filling.
As for what you should draw, that’s entirely up to you! Since jack-o-lanterns are on everyone’s mind, giving it a face will certainly help your pumpkin look especially iconic, but there’s nothing wrong with covering it with shapes, designs, and spooky creatures!
If you want to stay tuned for more DIY ideas, subscribe to our mailing list so we can keep you posted on all our best seasonal crafts! Plus, be sure to also check out any of our 75+ stores so you can replace anything you’ve just used for your crafts.
Have a Happy Halloween!
